5 Tips on How to Create a Stunning Gallery Wall
Share
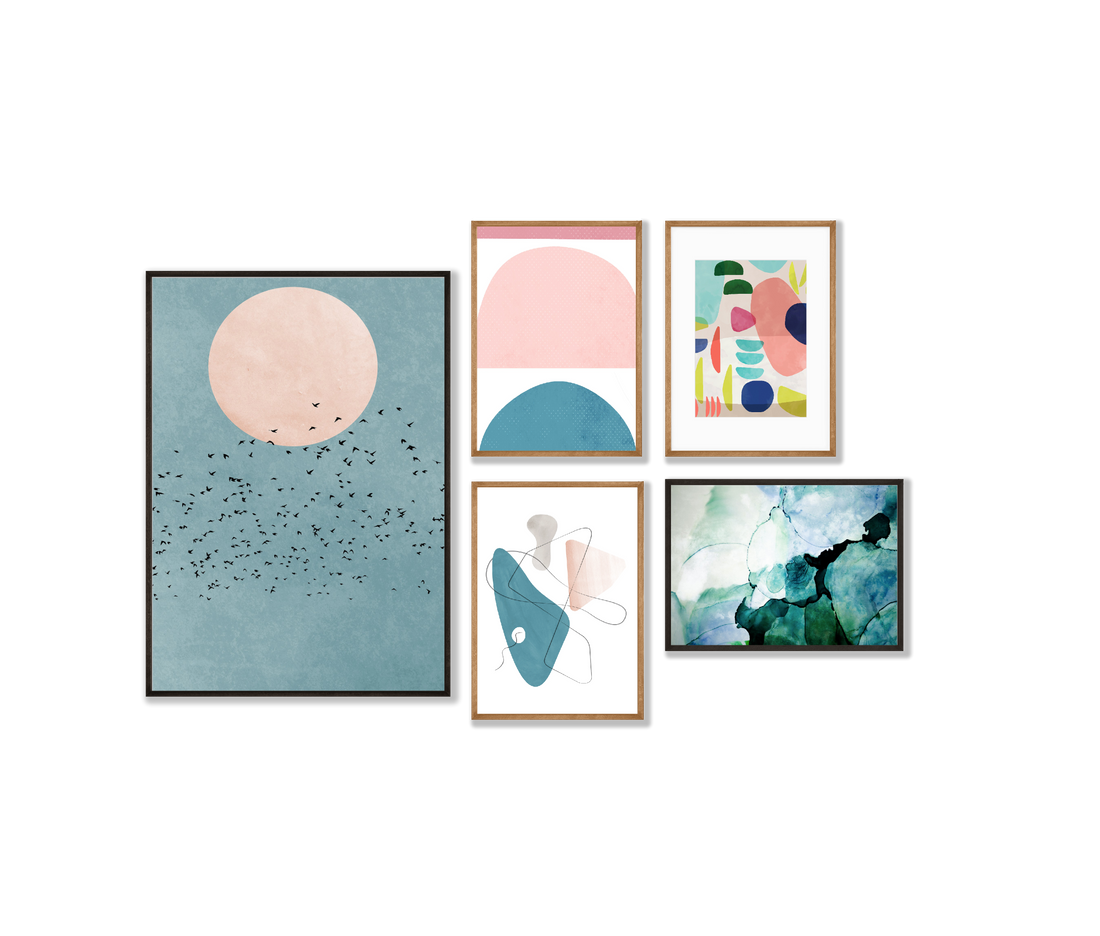
We love a gallery wall - nothing says personal style more than a carefully curated gallery wall feature for your home; that can change and grow as you do.
Stunning gallery walls are splashed across social media, especially Pinterest, and Instagram, proving they are a lasting trend in interior design, replacing the feature wall with something much more personal. What’s even better news is gallery walls are easy to put together. Read our top 5 tips for creating stunning home gallery walls.
1. Art for Art’s Sake

Deciding on the theme of your feature wall is a must. While anything goes, it’s still a good idea to create a theme or a style so that each print doesn’t get lost in a sea of uncertainty.
You might decide, for instance, that a monochrome wall would go well in your house. We have a selection of carefully curated prints that would work well in any home. Check out our suggestions for black and white art prints here.
Once you have chosen your theme or style, it is good to lay your prints out on the floor and look at them and see how they work together.
2. Size Matters

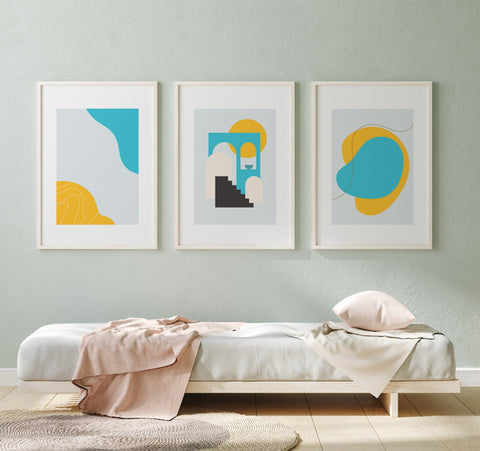
With your preferred style in mind, you can choose whether to keep it neat and tidy with a grid system or change it up with various sizes. Prints by the same artist look great framed in the same size and frame.

For a bold, cohesive series, try a gallery wall of film and music posters in the various sizes. Choose an eclectic mix of artworks in various sizes and frames for a more casual gallery wall look. You can customise the size of your prints to suit your gallery wall because our prints come in a variety of sizes.
3. Mix it Up
It’s a great idea to mix up your wall, say you love to travel and want to go with a gallery wall that celebrates your adventures. Intersperse holiday photos with travel posters. This will emphasise your photos and add depth and a more eye-catching feeling than simply displaying holiday photos.

We have a huge collection of travel art posters available; take look at the travel art prints collection at Athena.
4. Lay Your Prints Out
Happy days - your prints have arrived. Now, before you start hammering nails into the wall, arrange and rearrange your prints on the floor until you’re satisfied. Choose a layout that works for your prints, your room, and the look you’re going you would like to achieve.
You could even make paper cut-outs in the sizes of your prints and use blu-tack to replicate the style you had in mind on your wall. Working this way will assist you in visualising the final product. To ensure you get the prints in the right spot, draw a line on the paper to indicate where you want your nail to go.
5. Hang Your Prints and Enjoy the Results
Using professional picture hooks, not nails (especially in rented property), use your marking as a reference. When all of the cut-outs are in the correct position, and you’re pleased with the layout, remove the paper templates.
Hang your prints, and stand back to admire them. Once you have tweaked and changed things around (we all do that at least three times), there you have it – the ideal gallery wall!

Remember to send us your photos so we can add them to our gallery wall!

